Installing new gutters or replacing old ones in your home is an important project that requires careful planning and execution. Properly installed gutters are essential for protecting your home from water damage caused by rain. Quality gutters also prevent rot, mould growth, and foundation erosion over time by directing water away from the structure.
In this blog post, we’ll walk through the critical steps involved in gutter installation from start to finish. Following proper techniques and best practices at each phase will help ensure your new gutter system functions efficiently and avoids issues like leaks or overflowing for years. Whether you plan to DIY or hire a professional installer, understanding the complete process is critical to maximising performance.
Read the article below for instructions on how to install gutters. Let’s get started!
Steps for Gutter Installation
Assess and Measure the Area
The first step in any gutter project is thoroughly evaluating the roof area requiring new gutters. This involves measuring the linear footage along the roof edges that need gutters to direct rainwater runoff.
Use a tape measure to get accurate lengths of all sections, including protrusions like bay windows. Account for inside and outside corners in your total gutter length needed.
Assess your roof’s shape, pitch, and size, which can dictate the optimal gutter type and placement. Specialists may be needed for complex rooflines with valleys.
Carefully measuring and accounting for all facets of your roof ensures ordering enough gutter materials and hardware for efficient installation. Take time at the start for proper assessment and measurements for a smooth gutter installation.
Select Appropriate Gutters and Components
Once measurements are complete, it’s time to select the right gutters and additional parts needed for proper functioning. Key choices include gutter material (aluminium, galvanised steel, copper, vinyl) and style (K-style, half-round, box).
Consider factors like budget, longevity, and aesthetic appeal. Based on roof size, calculate the required number and spacing for downspout elbows and determine end caps, drop outlet tubes, elbows, hangers, sealants, and fasteners.
Gutter covers may also be desired to reduce debris build-up. Consult manufacturer guidelines to choose components and materials suitable for your climate. Ordering all necessary pieces together will prepare you for a smooth gutter installation project and prevent unexpected delays or extra trips to the hardware store.
Prepare the Fascia Board
The fascia board must be prepped properly before installation can begin. Inspect for rot, cracks, or warped areas and make repairs as needed to create a sound attachment surface.
Use wood filler and paint touch-ups on minor flaws. Evaluate whether the gutter section should bereplaced entirely. Sweep away debris and dirt to ensure the fascia boards are clean. For optimal gutter positioning, use a level to identify any areas on the fascia brackets that need straightening.
Snap a chalk line on every other rafter tail and use your drill to bore a pilot hole 1/8-inch in diameter through the fascia on each mark. Fasten your fascia brackets using 1/4-inch stainless steel lag screws that are at least two inches in length.
Proper sloping gutters depend on a level fascia board. Look for existing screw holes from old gutters and fill any unused ones. Take time to address fascia problems to avoid issues after gutters are hung. A sturdy, level and smooth fascia creates the ideal foundation for long-lasting gutter performance.
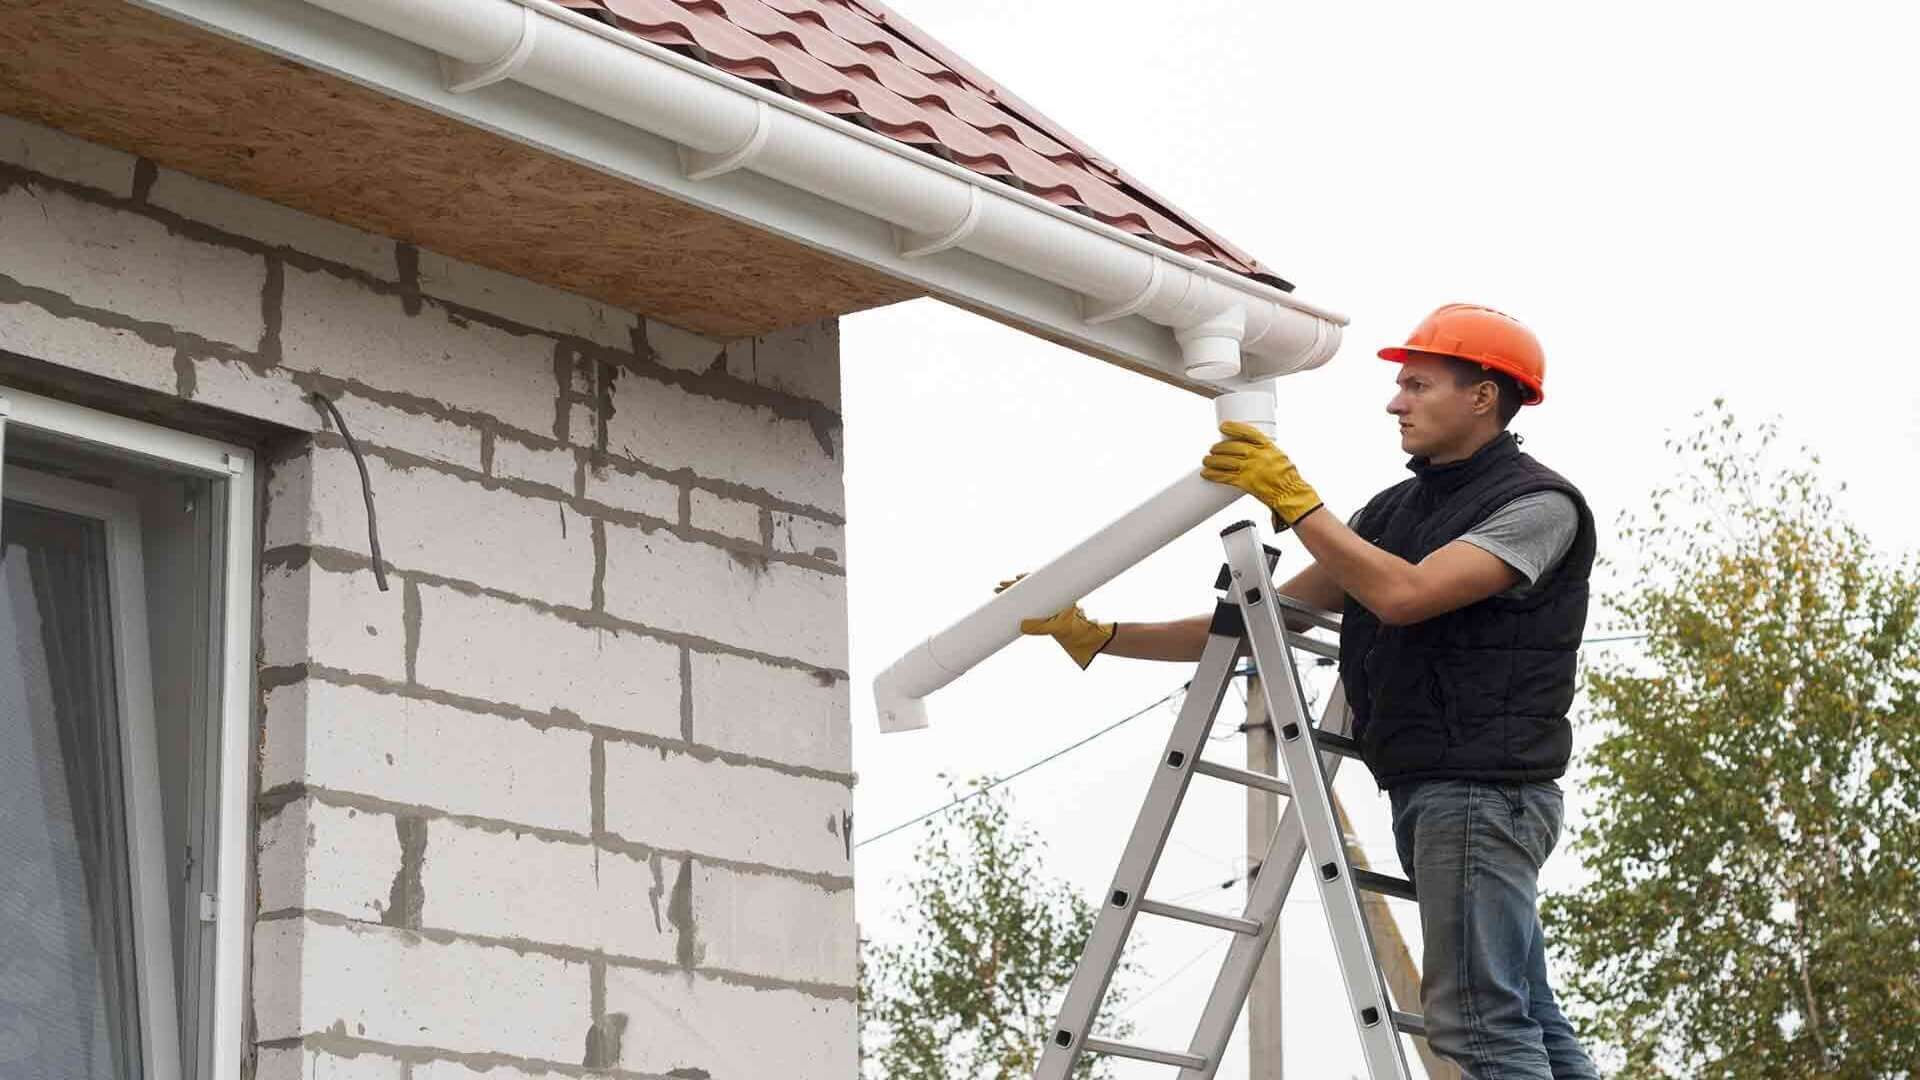
Hang and Secure the Gutters
With pre-work done, it’s time to hang the gutters. Use the manufacturer’s recommended hanger style and spacing, such as strap hangers every 24-36 inches.
Hang gutters slightly pitched forward to facilitate proper drainage. Use a level often to maintain alignment. Join gutter sections according to instructions to allow for thermal expansion.
Secure firmly at joints with rivets or sheet metal screws but avoid over-tightening. Follow any specifications for spacing from the roof edge to prevent overflow issues. Use drop outlets at low points to drain water effectively.
Carefully hanging gutters at the proper gutter slope, spacing, and alignment prevents leakage and detachment over time-plan for at least a quarter inch of slope for every 10 feet of a gutter run.
For gutter runs of 40 feet or more, pitch the existing gutters from the middle to downspout holes at either end. Doing so prevents leaves and debris from completely disrupting your system. Remember to account for this when buying materials. Don’t dent or twist gutters during the DIY gutter installation process. Hanging gutters precisely provide long-term functionality and aesthetics.
Understanding the Details That Impact Gutter Performance
While the installation process itself is important, the long-term performance of your gutter system often comes down to getting the finer details right. Homeowners planning a gutter replacement or new installation can benefit from understanding what to expect during the process, how gutters are designed to drain effectively, and the methods used to secure them to the home.
Correct drainage is equally important; a gutter system that isn’t installed with the appropriate fall can lead to standing water, overflow issues and premature wear. Learn more about the importance of gutter slope and pitch for drainage and how proper positioning helps direct rainwater towards downpipes.
The way gutters are attached to your home also plays a major role in durability and performance, as different fastening methods and bracket systems are used depending on the property and gutter profile. Our article explaining how metal gutters are secured to a house provides further insight into the components that keep a gutter system stable and functioning properly.
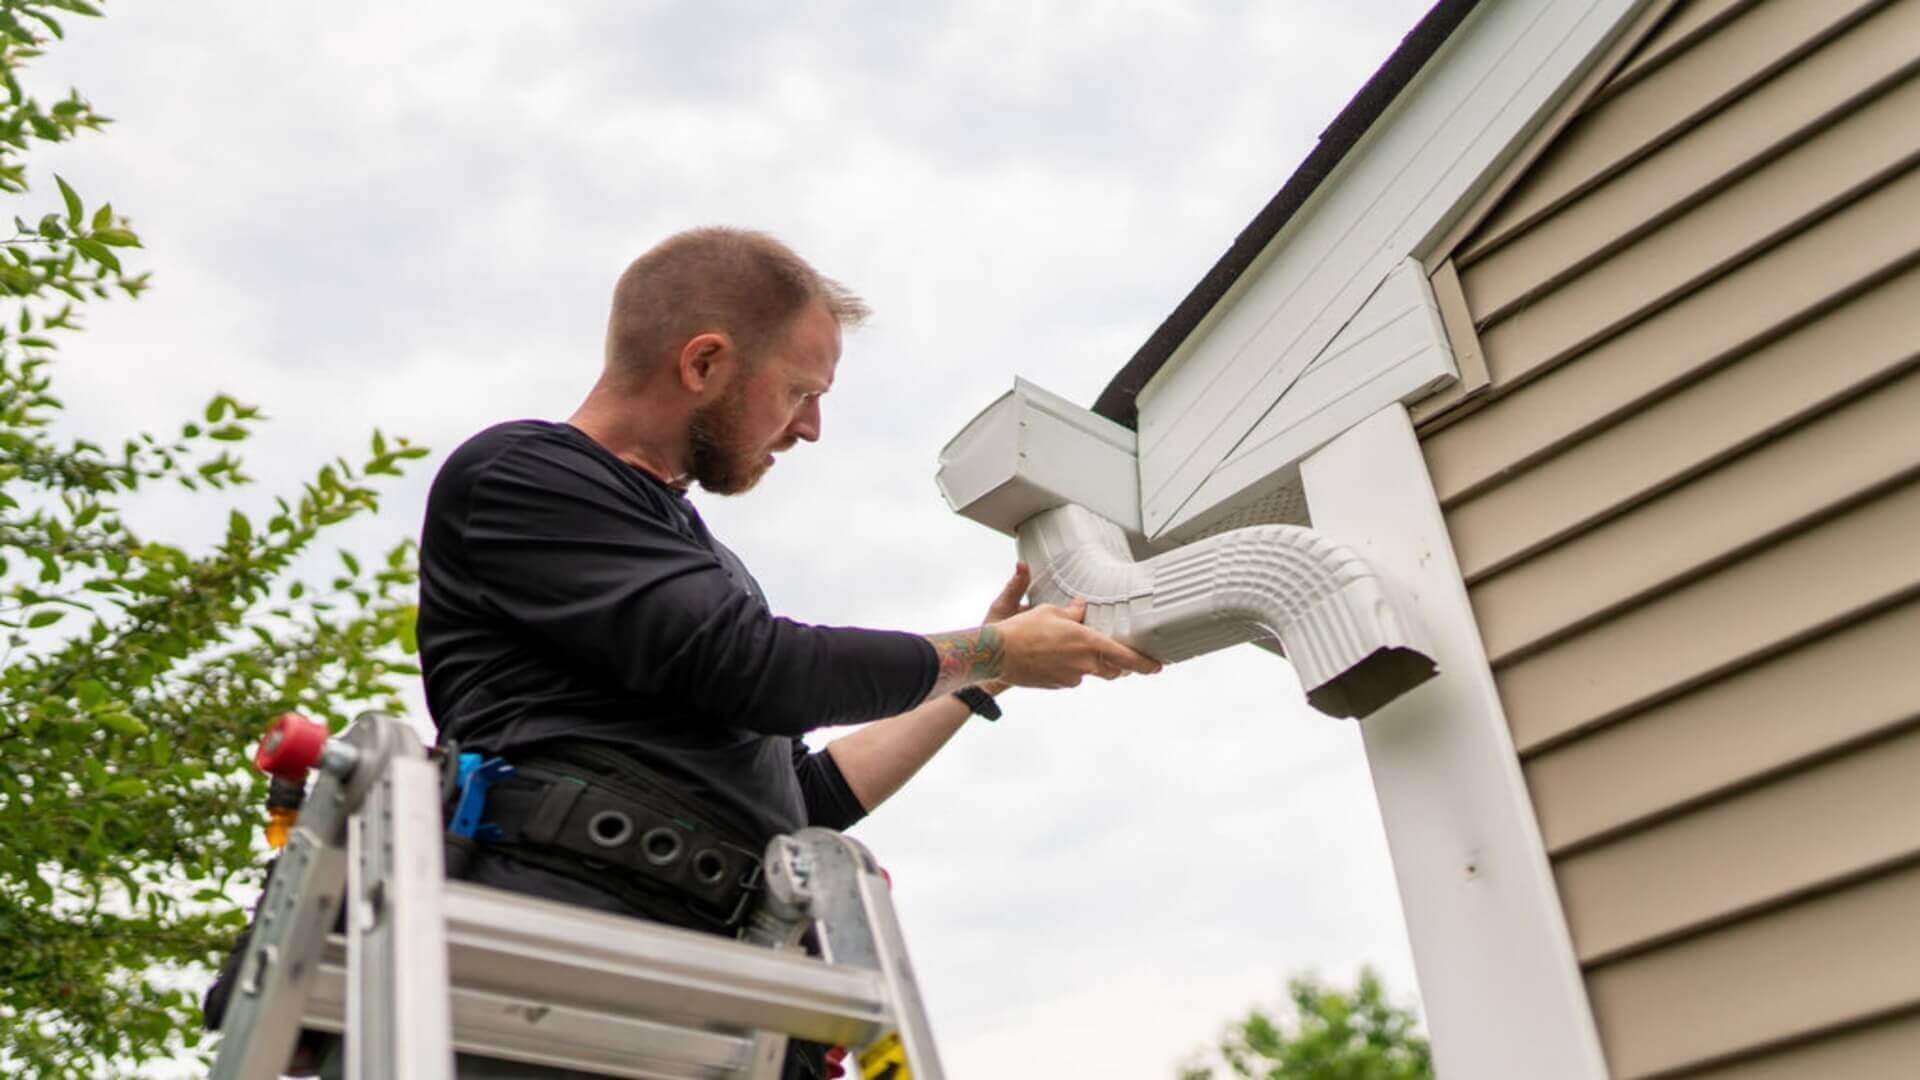
Join Gutter Sections and Install Downspouts
Once gutters are hung, it’s time to complete the system. Join sections together as directed, using gutter sealant or rivets at seams to prevent leaking.
For strong bonds, apply sealant evenly and wipe away excess. Attach end caps and insert any outlet tubes. Mark the gutter and cut out the downspout outlet in the appropriate spots based on your measurements.
Attach downspout sections to outlets, angling pieces to direct water away from the house. Use elbows and extensions as needed. Secure downspouts to the home with straps every few feet for stability.
Add splash blocks or drain pipes at the bottom to prevent soil erosion. Taking care to join and seal gutter components and gutters drain properly creates a cohesive system that will perform optimally for years before requiring maintenance.
Finish and Double Check Work
After completing the installation, inspect the entire gutter system to ensure it functions properly before considering the job done. Walk along the gutters, checking for level alignment and looking for any sagging or sloping issues that need adjustment.
Test by pouring water into the gutters and observing drainage from downspouts. If leaks at seams or joints are detected, seal them. Ensure the downspout location appropriately directs water away from the home’s foundation.
Clear the system of debris, such as metal shavings, that accumulated during installation. Cosmetically check for uniform gutter spacing from the roof edge and straight-end cap alignments.
Taking the time to inspect and test the new gutters thoroughly ensures everything works efficiently before putting the finishing touches on the job-meticulous finishing work results in a gutter system that performs flawlessly for years to come.
Maintaining Your New Gutter System
Now that you have optimised gutters directing water away from your home, please take steps to keep them working correctly. Regularly clear out leaves, sticks and other debris so water can flow freely.
Check for leaks at joints during heavy rains and reseal as needed. Minor problems like small holes can be easily repaired with a squirt of silicone, and installing gutter guards prevents a build-up of leaf litter. But if the damage is extensive and the guttering is corroded or coming away from the wall, replacing the damaged sections or installing a whole new system is better.
Annually inspect hidden gutter hangers and refasten any loose gutter sections. Touch up paint on steel gutters when worn to prevent rust. Remove piled-up soil or gravel against splash blocks so drainage isn’t impeded. Consider gutter covers to minimise clogs from debris accumulation.
Allowing gutters to overflow can lead to wood rot and moisture damage. With periodic inspection and cleaning, your gutters should provide many years of optimum performance. Implementing a maintenance routine preserves your investment and home protection.
Taking the Right Steps for a Watertight Gutter System
Installing gutters requires careful attention to detail for optimal performance and longevity. While a thorough DIY approach is possible for many homeowners, it’s always wise to consult the experts.
A.I Gutter & Roofing have provided quality gutter installation and replacement services that homeowners can trust for many years. Their team of fully licensed professionals follows all best practices to create watertight gutter systems tailored to your home and budget.
Next time your rain gutters need an upgrade or install rain gutters, skip the hassles and call the pros. A.I Gutter & Roofing offers free estimates and stands behind their workmanship.
Contact us today to learn more about protecting your home through professional gutter installation. Our experience and expertise take the guesswork out of getting this vital home improvement project done right.
At A.I Gutter & Roofing, we are downpipe drainage experts who can inspect your current system and recommend solutions to any problems. Our qualified technicians professionally install, repair, or replace downpipes using top-quality materials selected for durability.
Trust us to ensure your gutters and downpipes work harmoniously to control rainwater runoff properly. Contact A.I Gutter & Roofing today to discuss your downpipe needs - proper drainage starts here!


