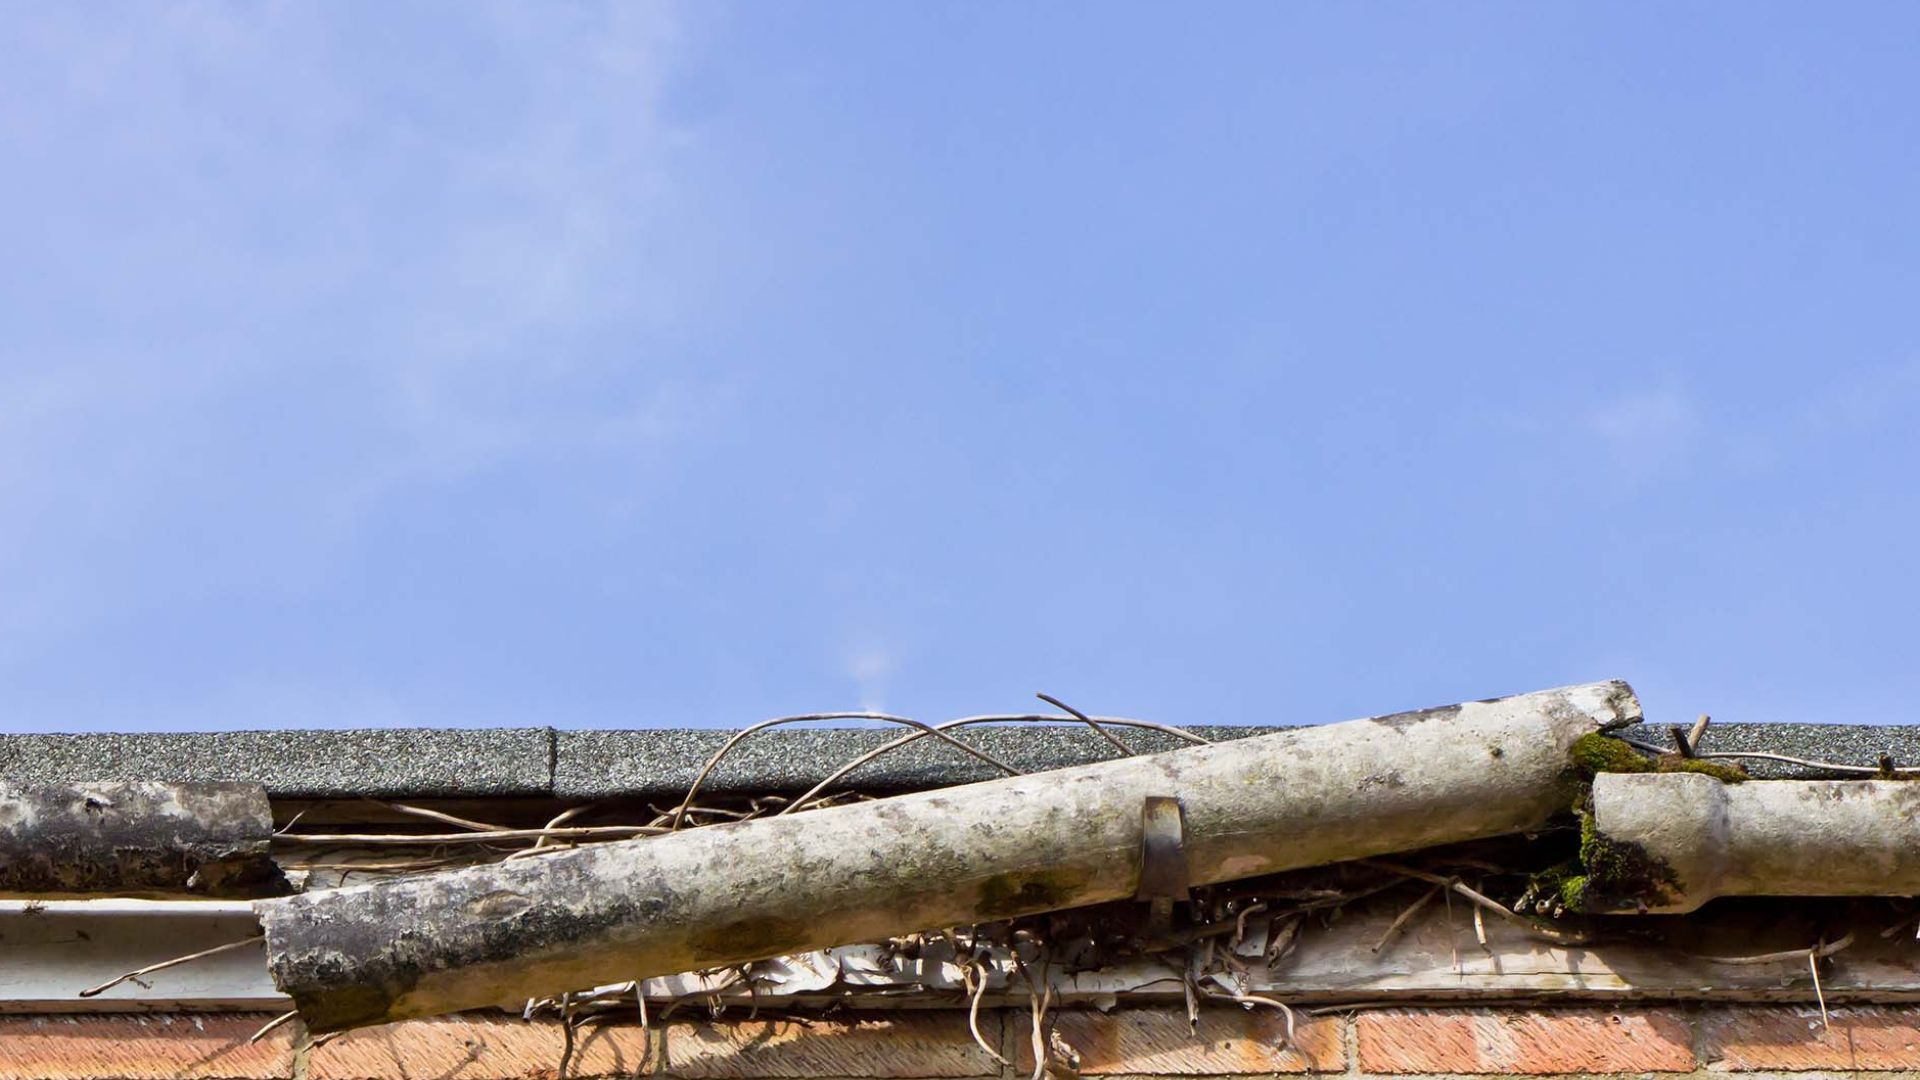
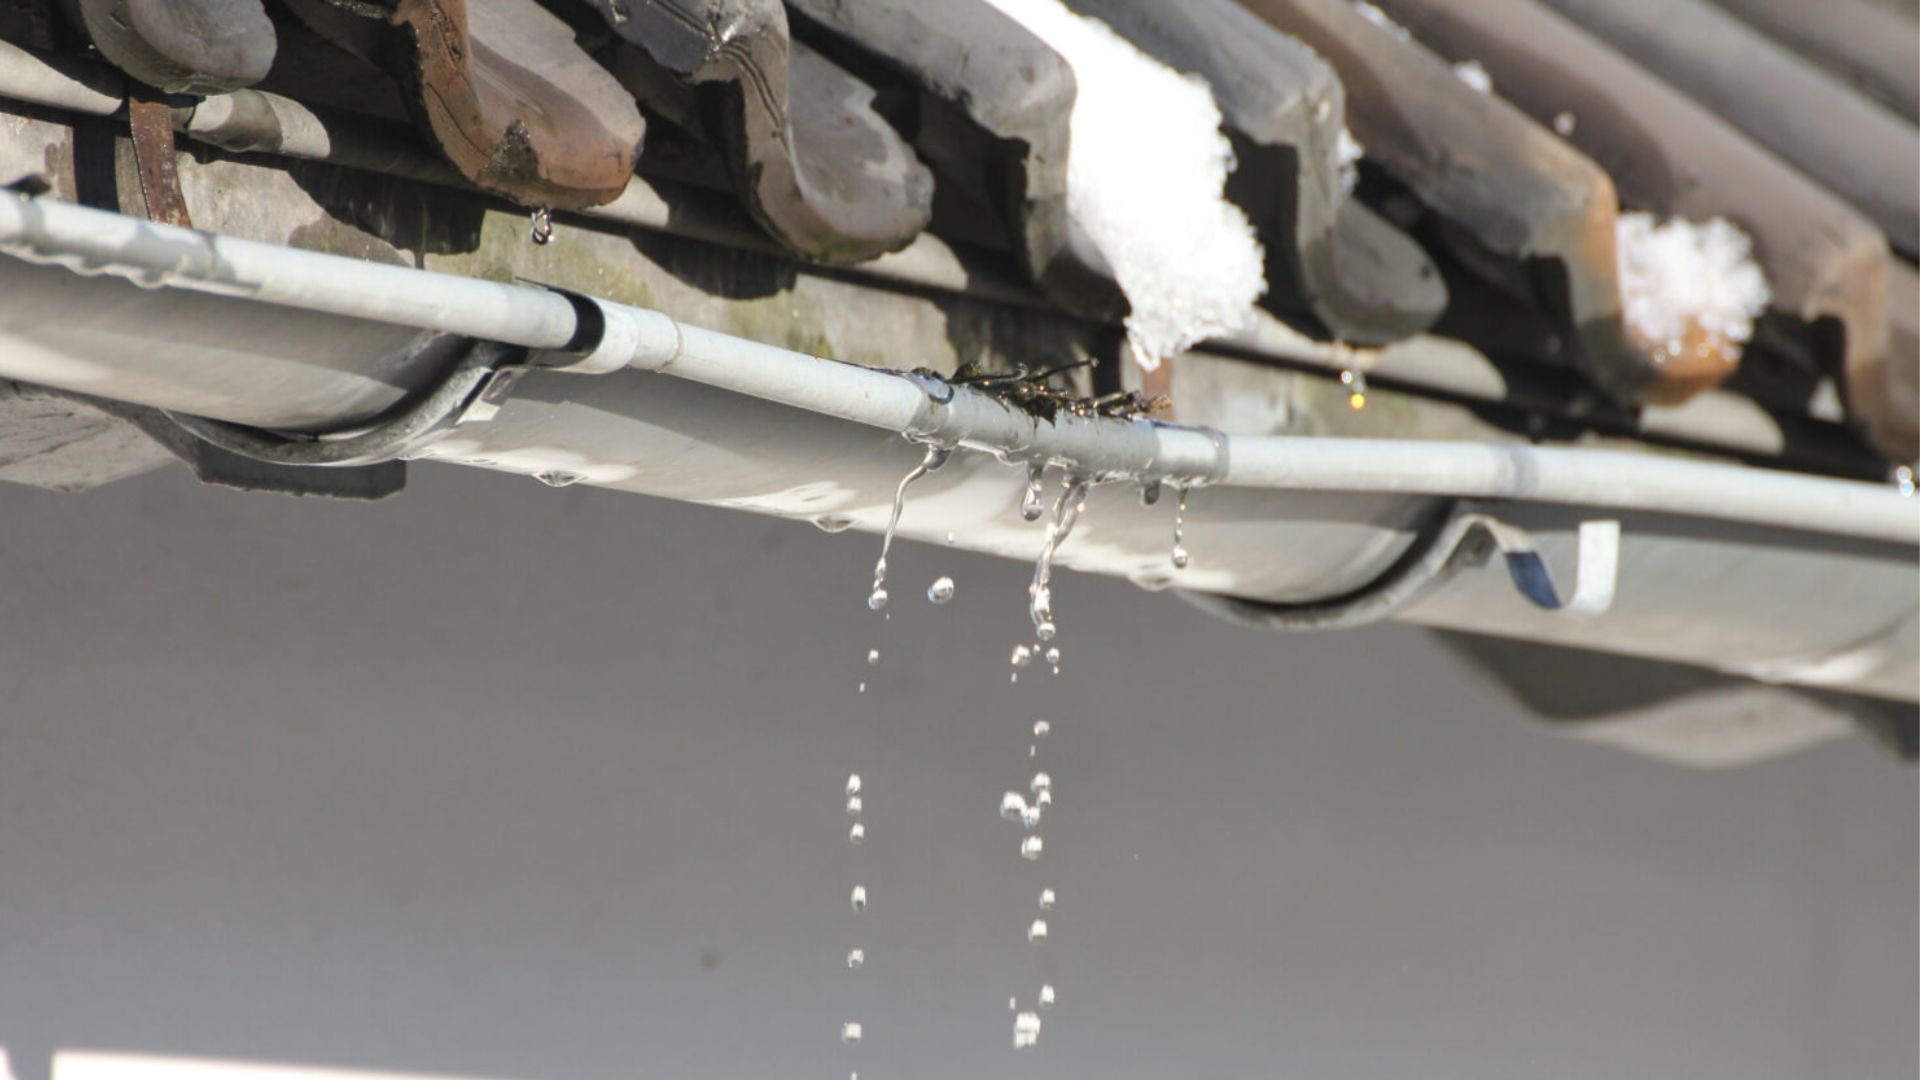
Ever spotted your gutters pulling away from the roofline and wondered what kind of damage they could cause if ignored? Loose gutters might seem like a minor issue, but they can lead to serious problems-think water-damaged walls, cracked foundations, and wrecked garden beds. Securing your gutters is one of the simplest ways to protect your home and avoid costly repairs down the track.
In this guide, we'll walk you through a clear, step-by-step process for fixing loose gutters yourself. Whether wear and tear, wild weather, or built-up debris is to blame, you'll learn how to catch the warning signs early and tackle the problem with confidence.
A little upkeep goes a long way in keeping your home safe and sound. Let's get into the details-your gutters deserve some attention!
Identifying Loose Gutters and Their Causes

Loose gutters are more than just an eyesore-they can lead to significant water damage if not addressed promptly. Some of the most common issues include sagging sections, gutters pulling away from the fascia board, and water leaking from joints or seams.
Signs your gutters may be loose or failing include:
- Cracks or small holes in the guttering
- Overflowing water, even after cleaning
- Gaps between the gutter and the roofline
- Standing water inside the gutters
- Puddles forming around your home's foundation
- Leaks around gutter joints or downspouts
- Water stains or damage on your home's exterior
Often, these problems stem from worn-out gutter brackets or loose hangers that have shifted or come away from the fascia. Nails or screws may have popped out, and brackets can weaken over time, especially if they weren't properly installed in the first place.
In some cases, gutters sag because they lack the correct slope, preventing water from draining efficiently.
Common causes of loose gutters include:
- Debris accumulation (leaves, twigs, dirt)
- Rust or corrosion, especially on older metal gutters
- Improper installation or poor-quality fasteners
- Heavy rainfall or ice, adding weight to already weak areas
- A damaged or rotting fascia board that can't hold fasteners securely
Installing gutter guards or mesh screens can reduce the risk of debris build-up and water overflow, but regular inspections are still essential. Use a garden hose to test water flow and look for signs of sagging.
Make sure screws are tightly secured, hangers are aligned correctly, and the gutter system is sloped to allow free water movement.
Essential Tools and Materials Needed
Before tackling any gutter repairs, make sure you have the right tools and safety gear ready to go. A little preparation goes a long way toward a smooth, stress-free fix.
Safety first:
- Sturdy ladder - essential for safely reaching roof-level gutters
- Protective gloves - to shield your hands from sharp edges and debris
- Safety glasses - to protect your eyes while drilling or as a tool when cleaning gutters
- Non-slip shoes - for secure footing on ladders or wet surfaces
- Tool belt - handy for keeping screws, tools, and small parts within easy reach
Repair tools and supplies:
- Cordless drill - for removing and securing screws or brackets
- Gutter screws or nails - for reattaching loose hangers or sagging sections
- Gutter brackets and hangers - to reinforce or replace worn supports
- Wire brush - ideal for clearing rust or debris before sealing
- Gutter sealant - for patching small holes or sealing leaking joints
- Silicone sealant - perfect for waterproofing and long-lasting repairs
- Spirit level - to ensure the correct gutter slope for proper drainage
If you plan to install gutter guards or mesh screens, check that any existing holes are properly aligned and the materials match your current system. Always follow the manufacturer's instructions for any new components.
Most of these items are readily available at your local hardware store. With the right tools and gear, even small repairs can make a big difference in protecting your home from water damage.
Safety Considerations Before You Start
Safety should always be your top priority when working on gutters. A few simple precautions can prevent serious accidents and ensure the job gets done right.
- Use a sturdy ladder and place it on flat, level ground. Always have someone nearby to hold the ladder steady-this extra support is especially helpful when dealing with sagging sections.
- Wear closed-toe shoes with good grip to prevent slips, and avoid working in wet, windy, or unstable conditions. Poor footing can quickly lead to injury.
- Use a tool belt to keep your hands free while climbing, and carry only what you need to avoid overloading yourself.
- Don't overreach. Make sure your ladder extends past the roof edge, and move it as needed rather than stretching to reach a spot.
- Follow manufacturer instructions for gutter sealants, hangers, and brackets to ensure safe and secure repairs.
Before making any fixes, inspect the area thoroughly to identify the extent of the damage. If you're unsure or uncomfortable working at heights, it's always better to call in a professional. A quick repair is never worth risking your safety.
Step-by-Step Guide to Fixing Loose Gutter Brackets
1. Check the Gutter and Bracket Condition
Start by giving your gutters a good once-over. Look out for sections that are sagging, brackets that have come loose, or joints pulling away from the fascia. While you're at it, check for any signs of water damage, rust spots, or cracks.
To test things properly, run some water through the gutters using a garden hose. Watch for leaks, standing water, or overflow-these are dead giveaways that something's not right.
Here's what to look out for:
- Loose gutter hangers or nails that aren't holding properly
- Screws that have started backing out of their holes
- Build-up of leaves, twigs, or gunk weighing the gutter down
- Damage to the fascia board beneath the brackets (especially rot or water staining)
2. Tighten or Replace Existing Brackets
If the bracket's still in decent nick but just loose, grab your cordless drill and some fresh gutter screws. Tighten everything up, making sure the screws are biting into solid timber-not soft or rotted wood.
If the bracket's looking a bit worse for wear (rusted, bent, or broken), it's time to swap it out:
- Remove the old bracket with your drill
- Clean up the area with a wire brush to get rid of rust or muck
- Seal up any small holes with gutter sealant
- Avoid putting new screws in the same worn-out holes-move slightly and drill new pilot holes nearby if needed
3. Install New Brackets or Gutter Hangers
Replacing brackets or adding new hangers? Make sure they're spaced evenly-usually no more than 1.2 metres. That'll help keep the gutter properly supported and angled.
Here's how to do it:
- Slot the new bracket under the gutter
- Drill pilot holes into the fascia board
- Secure it with gutter screws or nails (follow the instructions that came with the bracket)
- Repeat the process along any sagging sections or where brackets have failed
While you're up there, it's a good time to think about whether gutter guards or mesh screens might help cut down on future blockages.
4. Check the Gutter Slope and Alignment
Once all the brackets are in place, grab a spirit level and make sure the gutter has a gentle slope-around 3mm drop for every 3 metres. This helps water flow smoothly to the downpipes instead of sitting in the gutter.
- Lay the level along the edge of the gutter
- Adjust any brackets that are too high or low
- Make sure the water's heading in the right direction and draining properly
5. Test It All Out
After everything's tightened and aligned, give it a quick strength test-gently tug on the gutter to make sure it's not wobbling or pulling loose.
Next, run water through the system again:
- Check for leaks at joints and around the areas you just sealed
- Make sure the water is flowing freely to the downspouts
- Watch for any pooling or areas where the water isn't moving
If everything looks solid, you're all set! Your gutters should now be in much better shape. Just remember-regular maintenance and clearing out debris can save you from bigger problems down the track.
And if you spot major damage like a cracked fascia board or persistent leaks, it might be time to bring in a professional for a closer look.
When to Repair and When to Replace
Not every gutter problem means you need to rip the whole thing down and start over. In fact, most minor issues can be sorted with a straightforward repair.
If you're dealing with things like loose brackets, small leaks, or sagging spots caused by dodgy hangers or screws, a quick fix is often all it takes. Tightening up the hardware, sealing joints with gutter sealant, or clearing out built-up debris can get your gutters back in working order without too much fuss.
That said, there are times when a replacement is the smarter move. You might want to think about a full or partial upgrade if:
- Your gutters are heavily rusted or cracked in multiple spots
- Leaks keep coming back, even after you've patched them
- The fascia board behind the gutter is rotting or pulling away
- The system's more than 20 years old and looking worse for wear
- You've noticed signs of water damage on your home's exterior or around the foundations

The type of gutter material can also be a factor. Aluminium and vinyl tend to crack or warp as they age, while steel can rust through over time.
If you're constantly climbing the ladder to fix sagging sections or deal with standing water that just won't drain, replacing the damaged areas-or even the whole setup- might save you money and hassle in the long run. Especially if the structure itself is no longer sound.
Professional Help is Just a Call Away
Some gutter issues just aren't worth tackling on your own-especially when they keep coming back or start affecting your roof or fascia. If you're dealing with stubborn leaks, sagging gutters that won't stay put, or signs of water damage, it's probably time to hand things over to the experts.
That's where A.I Guttering and Roofing comes in. They've built a solid reputation for dependable, no-fuss gutter repairs right across the country. With years of hands-on experience, their team knows how to handle everything from a quick fix to a full gutter replacement-and they do it with a proper understanding of the Gold Coast's tough weather conditions.
There's no need to risk your safety by climbing ladders or trying to fix something that might only get worse. Whether it's rusted joints, busted hangers, or an entire system on its last legs, A.I Guttering and Roofing will sort it quickly and do it right the first time.
Give A.I Guttering and Roofing a call today-for expert advice, honest workmanship, and peace of mind knowing your home's protected from the top down.


